
How to Gigabyte G5 MF Soft Brick Solution (Unofficial)
UPDATE: At the moment I wrote this post, Gigabyte published an oficial patch to flash the BIOS. Please follow the official guide PDF. Anyway if it doens’t work for you, you can try this optional solution in this post.
After a June 11 Windows 11 update, my GIGABYTE G5 MF laptop suddenly wouldn’t boot. Cannot boot from USB drives also, seems BIOS was damaged. (Check this Reddit Post). Fortunately, it was a soft brick, and after some deep digging and trial-and-error, I recovered it completely using only the official BIOS, EFI Shell, and a USB drive.
Here’s how I did it — and how you can, too.
⚠️ Disclaimer
This guide is provided for educational purposes only. I do not take any responsibility for damage, data loss, or device malfunction resulting from the use or misuse of the information provided here. Proceed at your own risk.
Make sure to follow all instructions carefully and only apply them to your exact hardware model. If you are unsure at any step, seek professional assistance.
🛠️ What You’ll Need
- Any working computer (Windows preferably) to prepare a USB drive
- A FAT32-formatted USB stick (≥4GB & <= 16GB)
- Disable Secure Boot
- Official BIOS for your GIGABYTE model (I use latest FB10 version for Gigabyte G5 MF)
- An internet connection (for download)
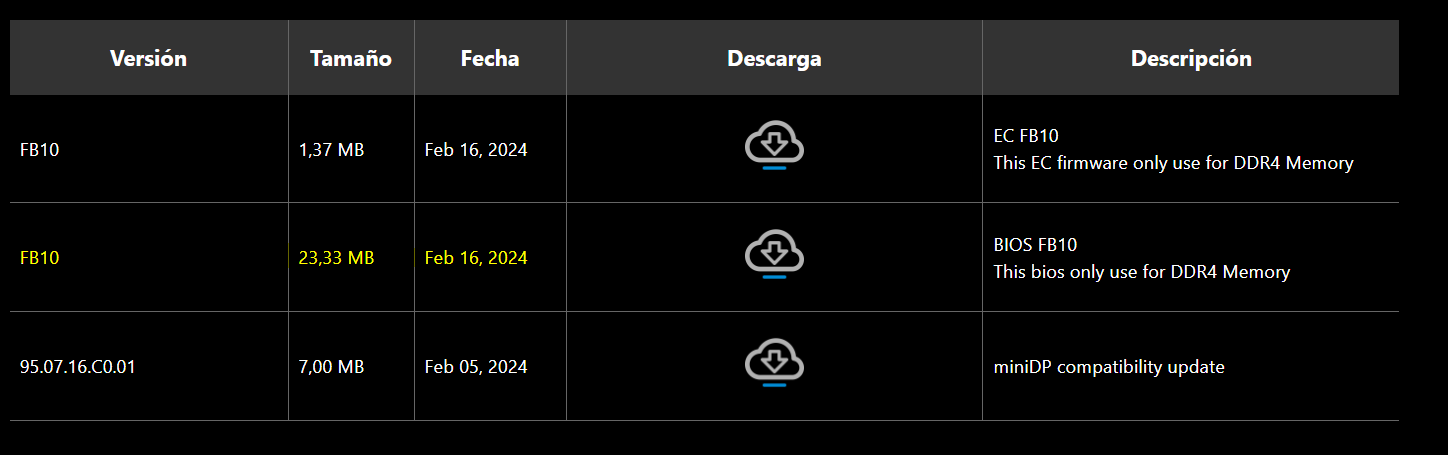
✅ Step 1: Download the official BIOS from GIGABYTE
- Go to https://www.gigabyte.com/es/Laptop/G5—2023/support#dl and find your exact model — in my case, G5 MF
- Download the latest BIOS
.zip. In my case is a aprox 20mb size file.
- Inside, you should find several files like
- NP50RNx-Y(32M).10 ← full BIOS + ME image
- NP50RNx-Y10.efi ← EFI BIOS flasher
- FlashMe.nsh ← script for automated flashing
- NP50RNx-Y10.exe ← (Windows version – not needed)
- tools, etc.
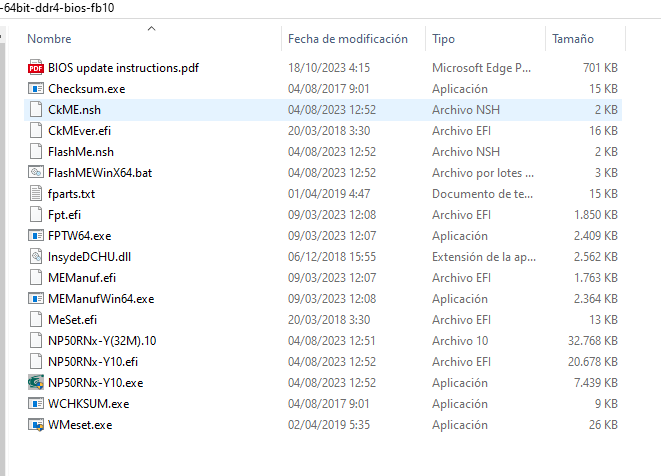
We’ll be using all the files but you can skip the PDF and
.exe.
☁️ Step 2: Prepare the bootable USB with EFI Shell
-
Download EFI Shell (used version):
👉 Shell.efi – Tianocore UDK2018 -
Rename it to:
BOOTX64.EFI -
Format your USB as FAT32
-
Create this folder structure in your USB drive -> EFI/BOOT:
-
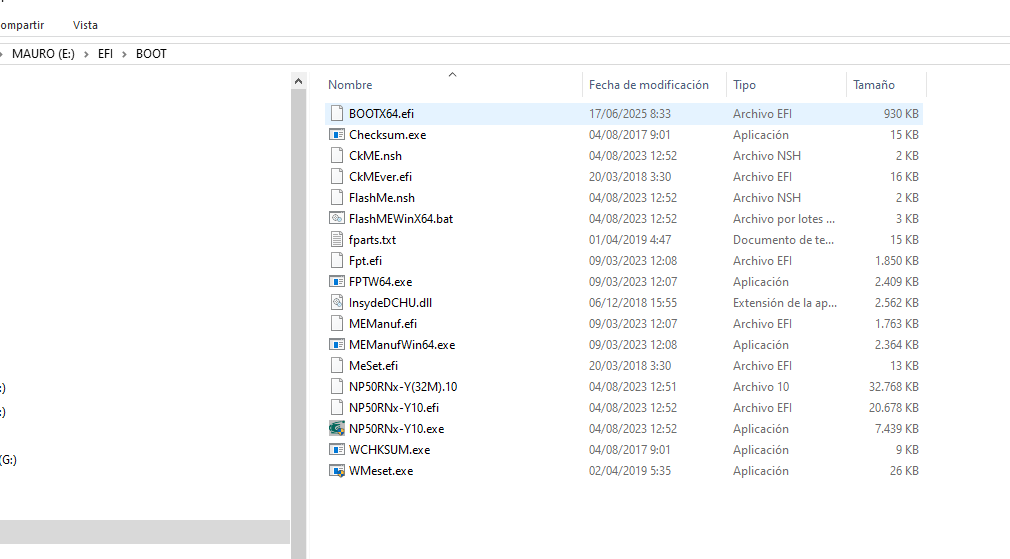
Copy everything from the Gigabyte BIOS
.zipexcept the instruction PDF to EFI/BOOT. -
Copy the BOOTX64.EFI you renamed in step 2 (EFI Shell) to EFI/BOOT.
-
Your FAT32 USB pendrive structure should be something like this (can vary depending on your g5 model, in my case is g5 mf):
📝
🚀 Step 3: Boot into EFI Shell
- Insert the USB into the bricked laptop
- Power it on and press
F2repeatedly - From the boot menu, select the USB (UEFI mode)
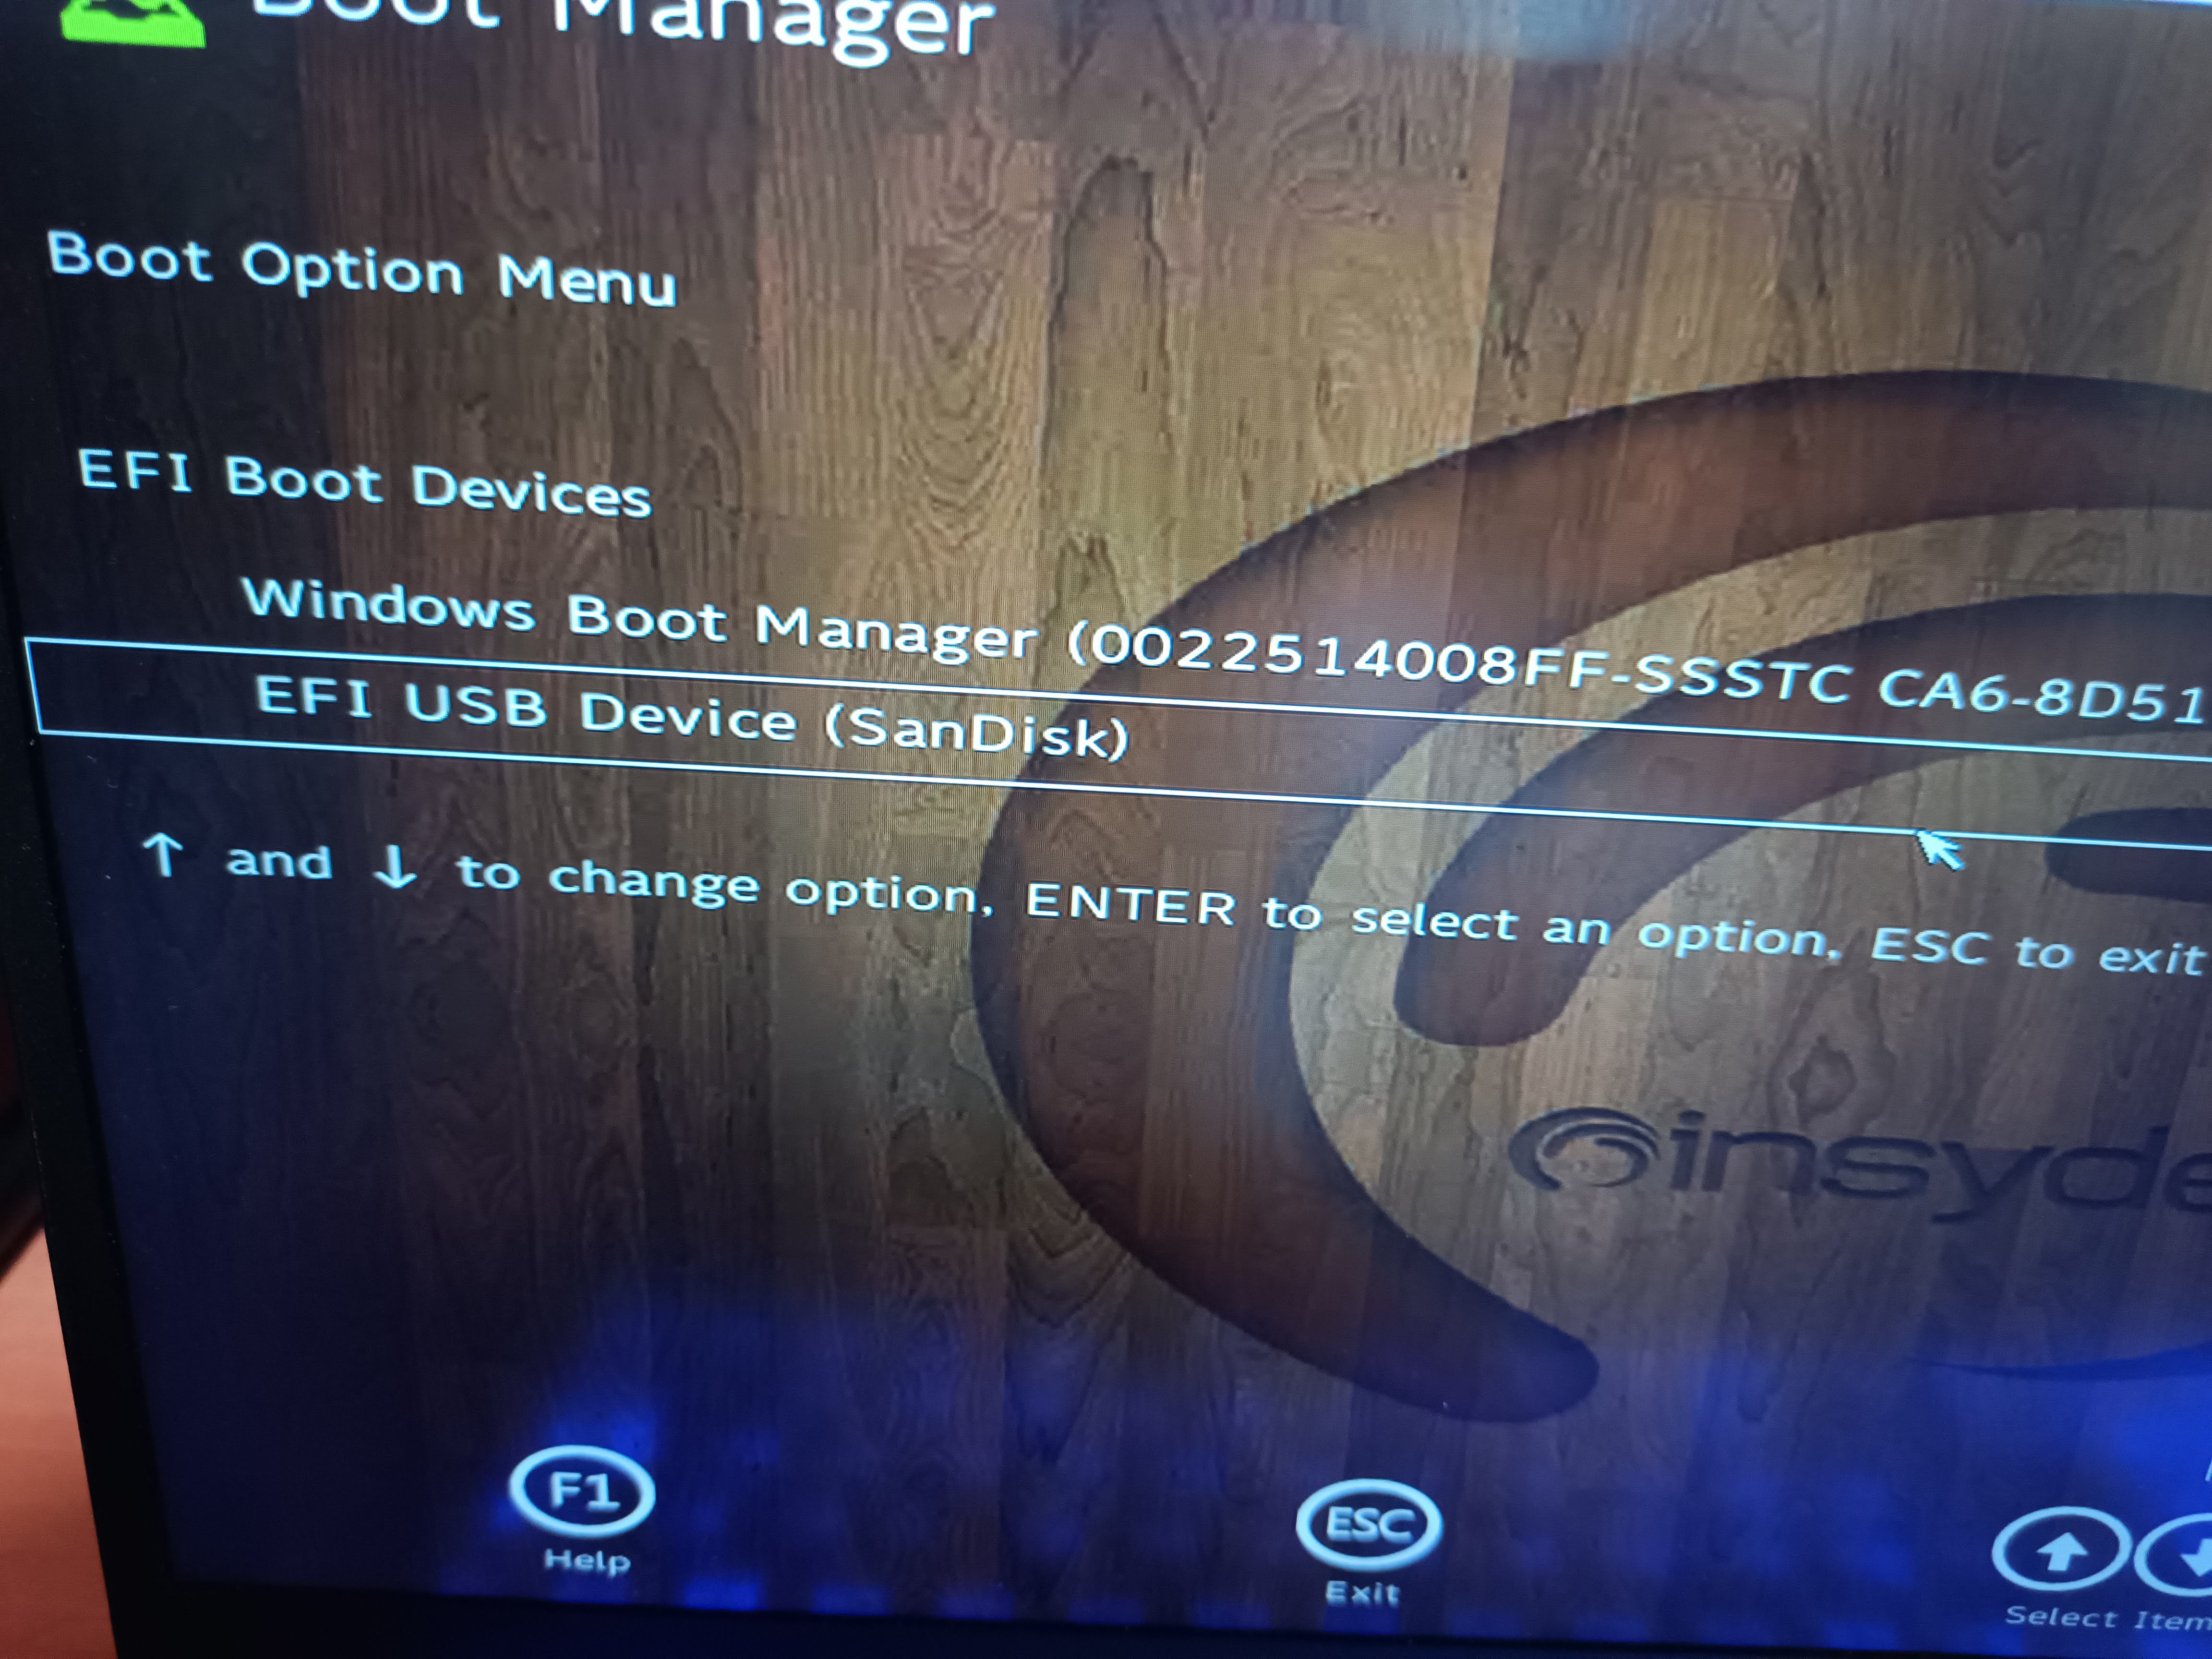
- You should see the EFI Shell prompt like:
Shell>
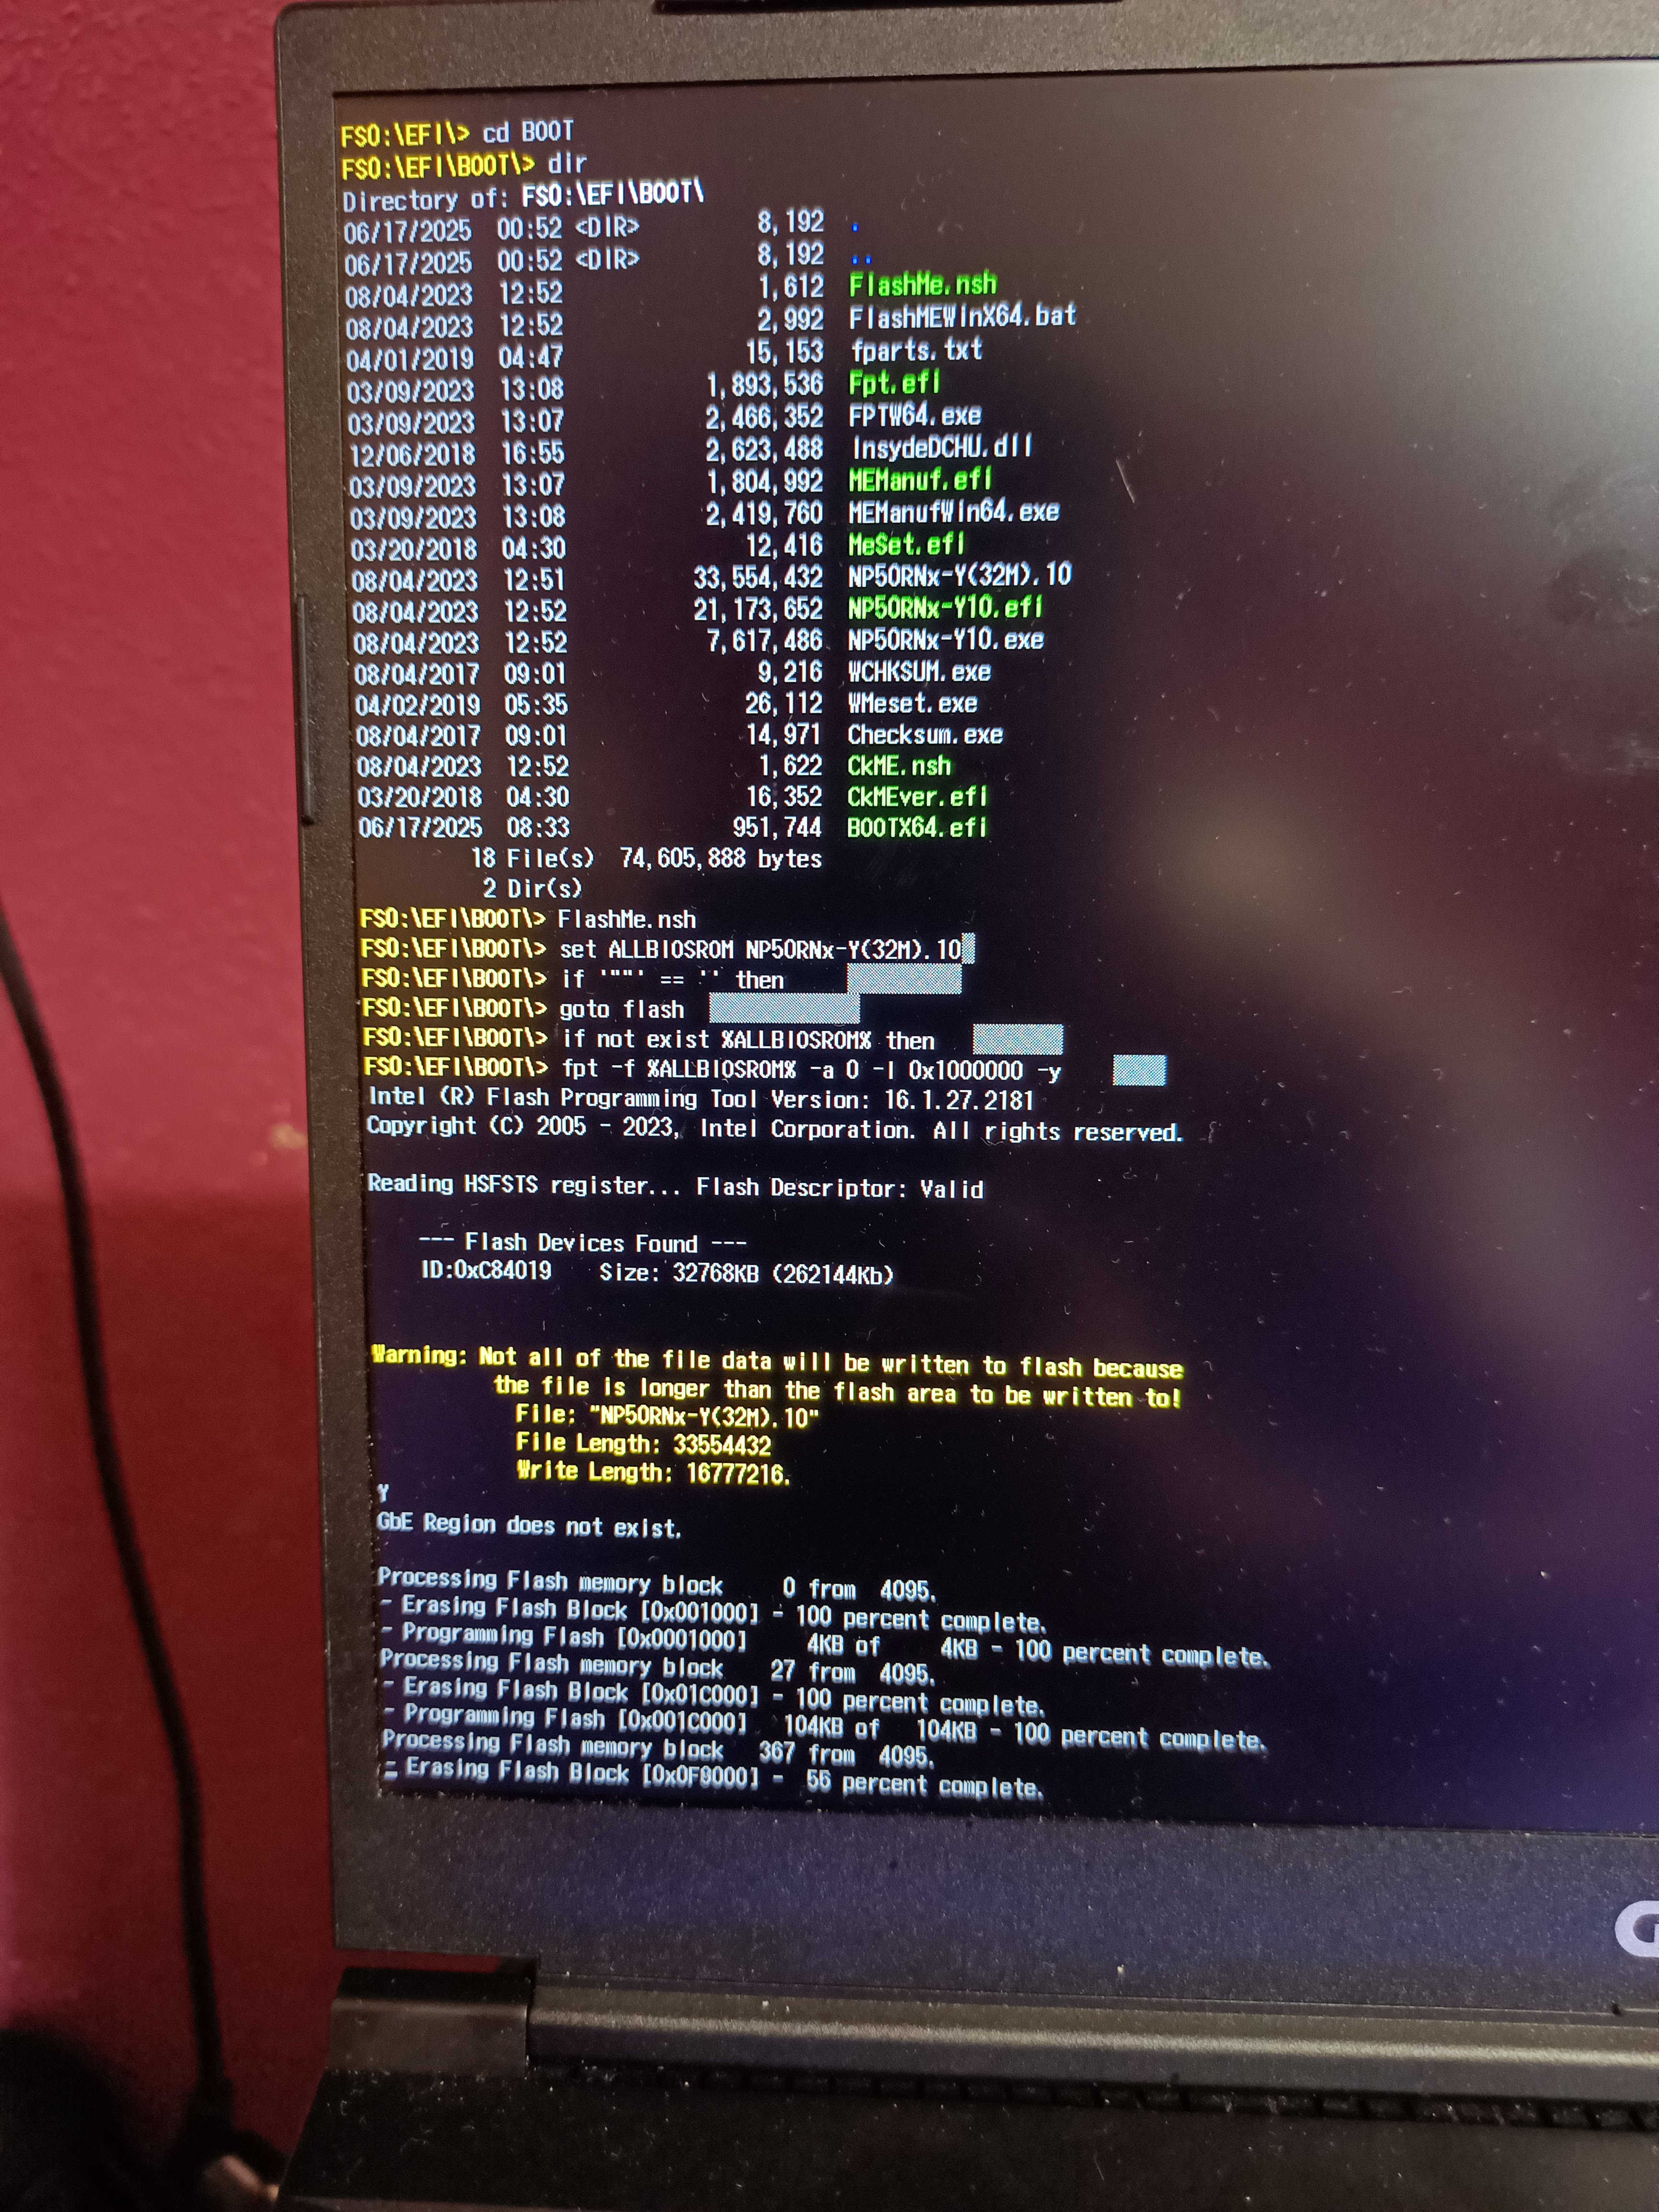
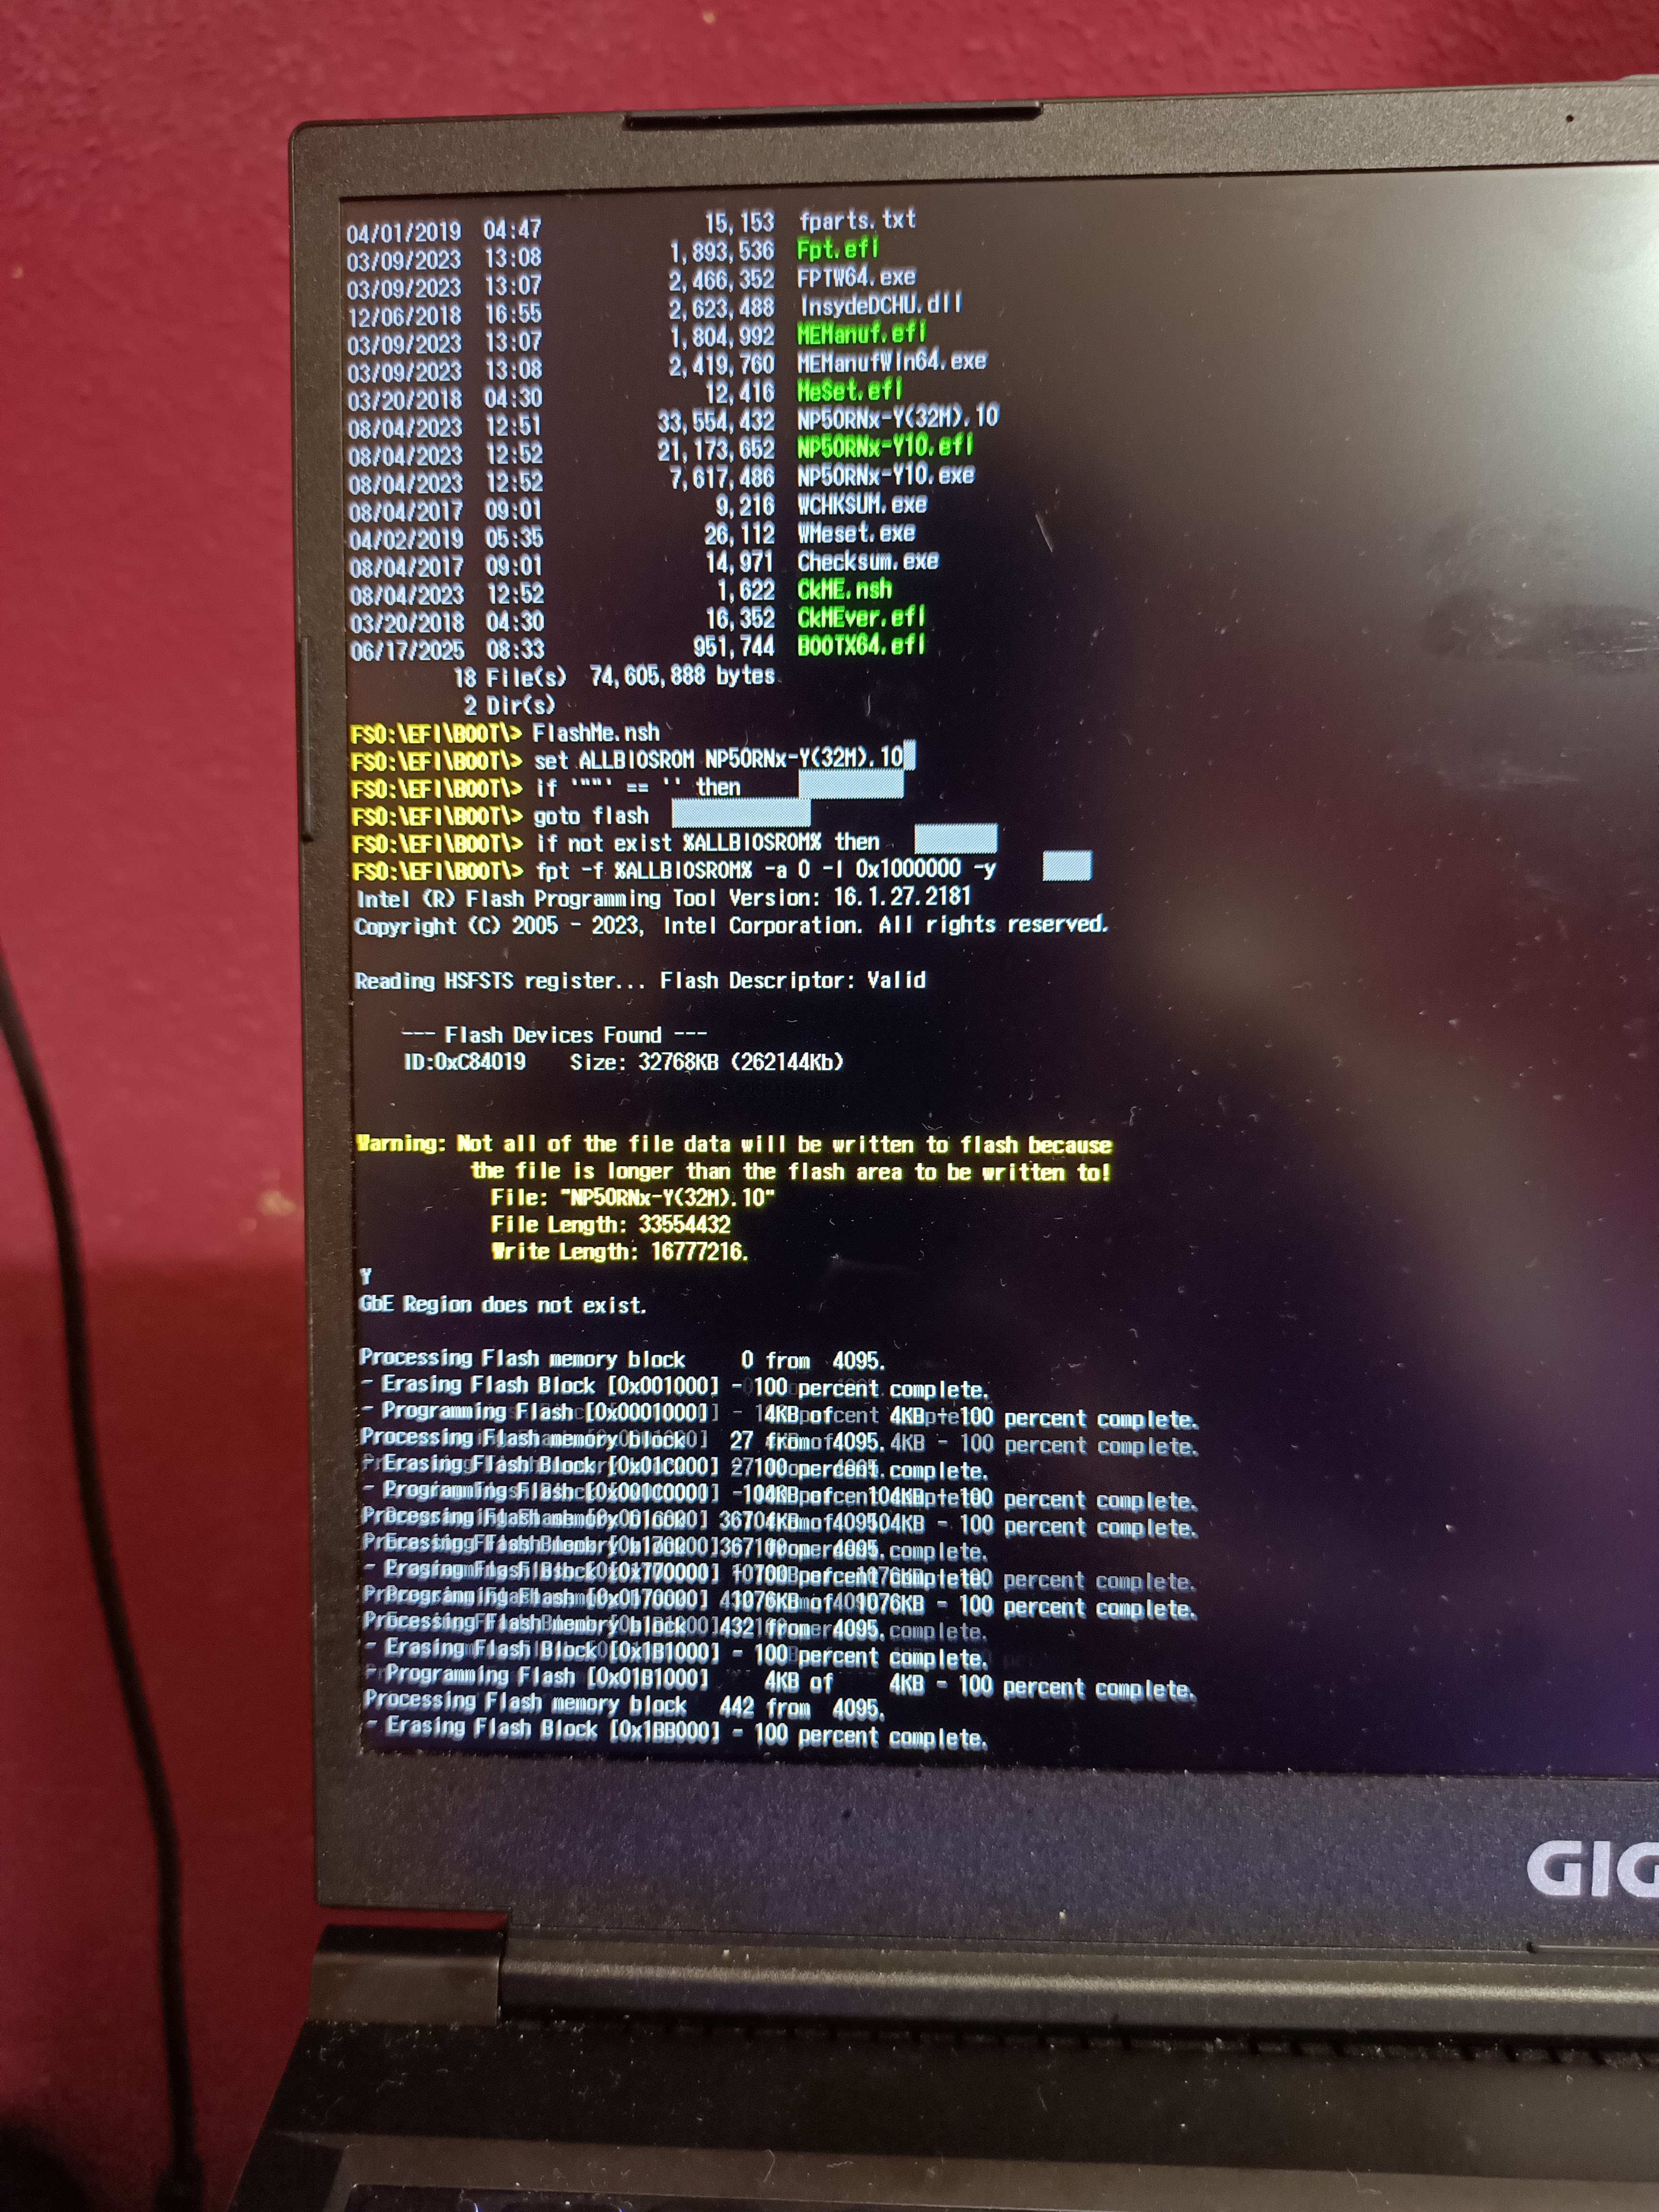
🔧 Step 4: Flash the BIOS
From the EFI Shell, execute this commands:
fs0:
dir
cd EFI
cd BOOT
FlashMe.nsh
The script will:
- Detect the .10 BIOS file
- Flash it using Intel FPT
⚠️ Do not interrupt. It will execute some processes, then restart one time, then flash the bios. When it says completed, it will power off automatically.
Screenshots of my process:

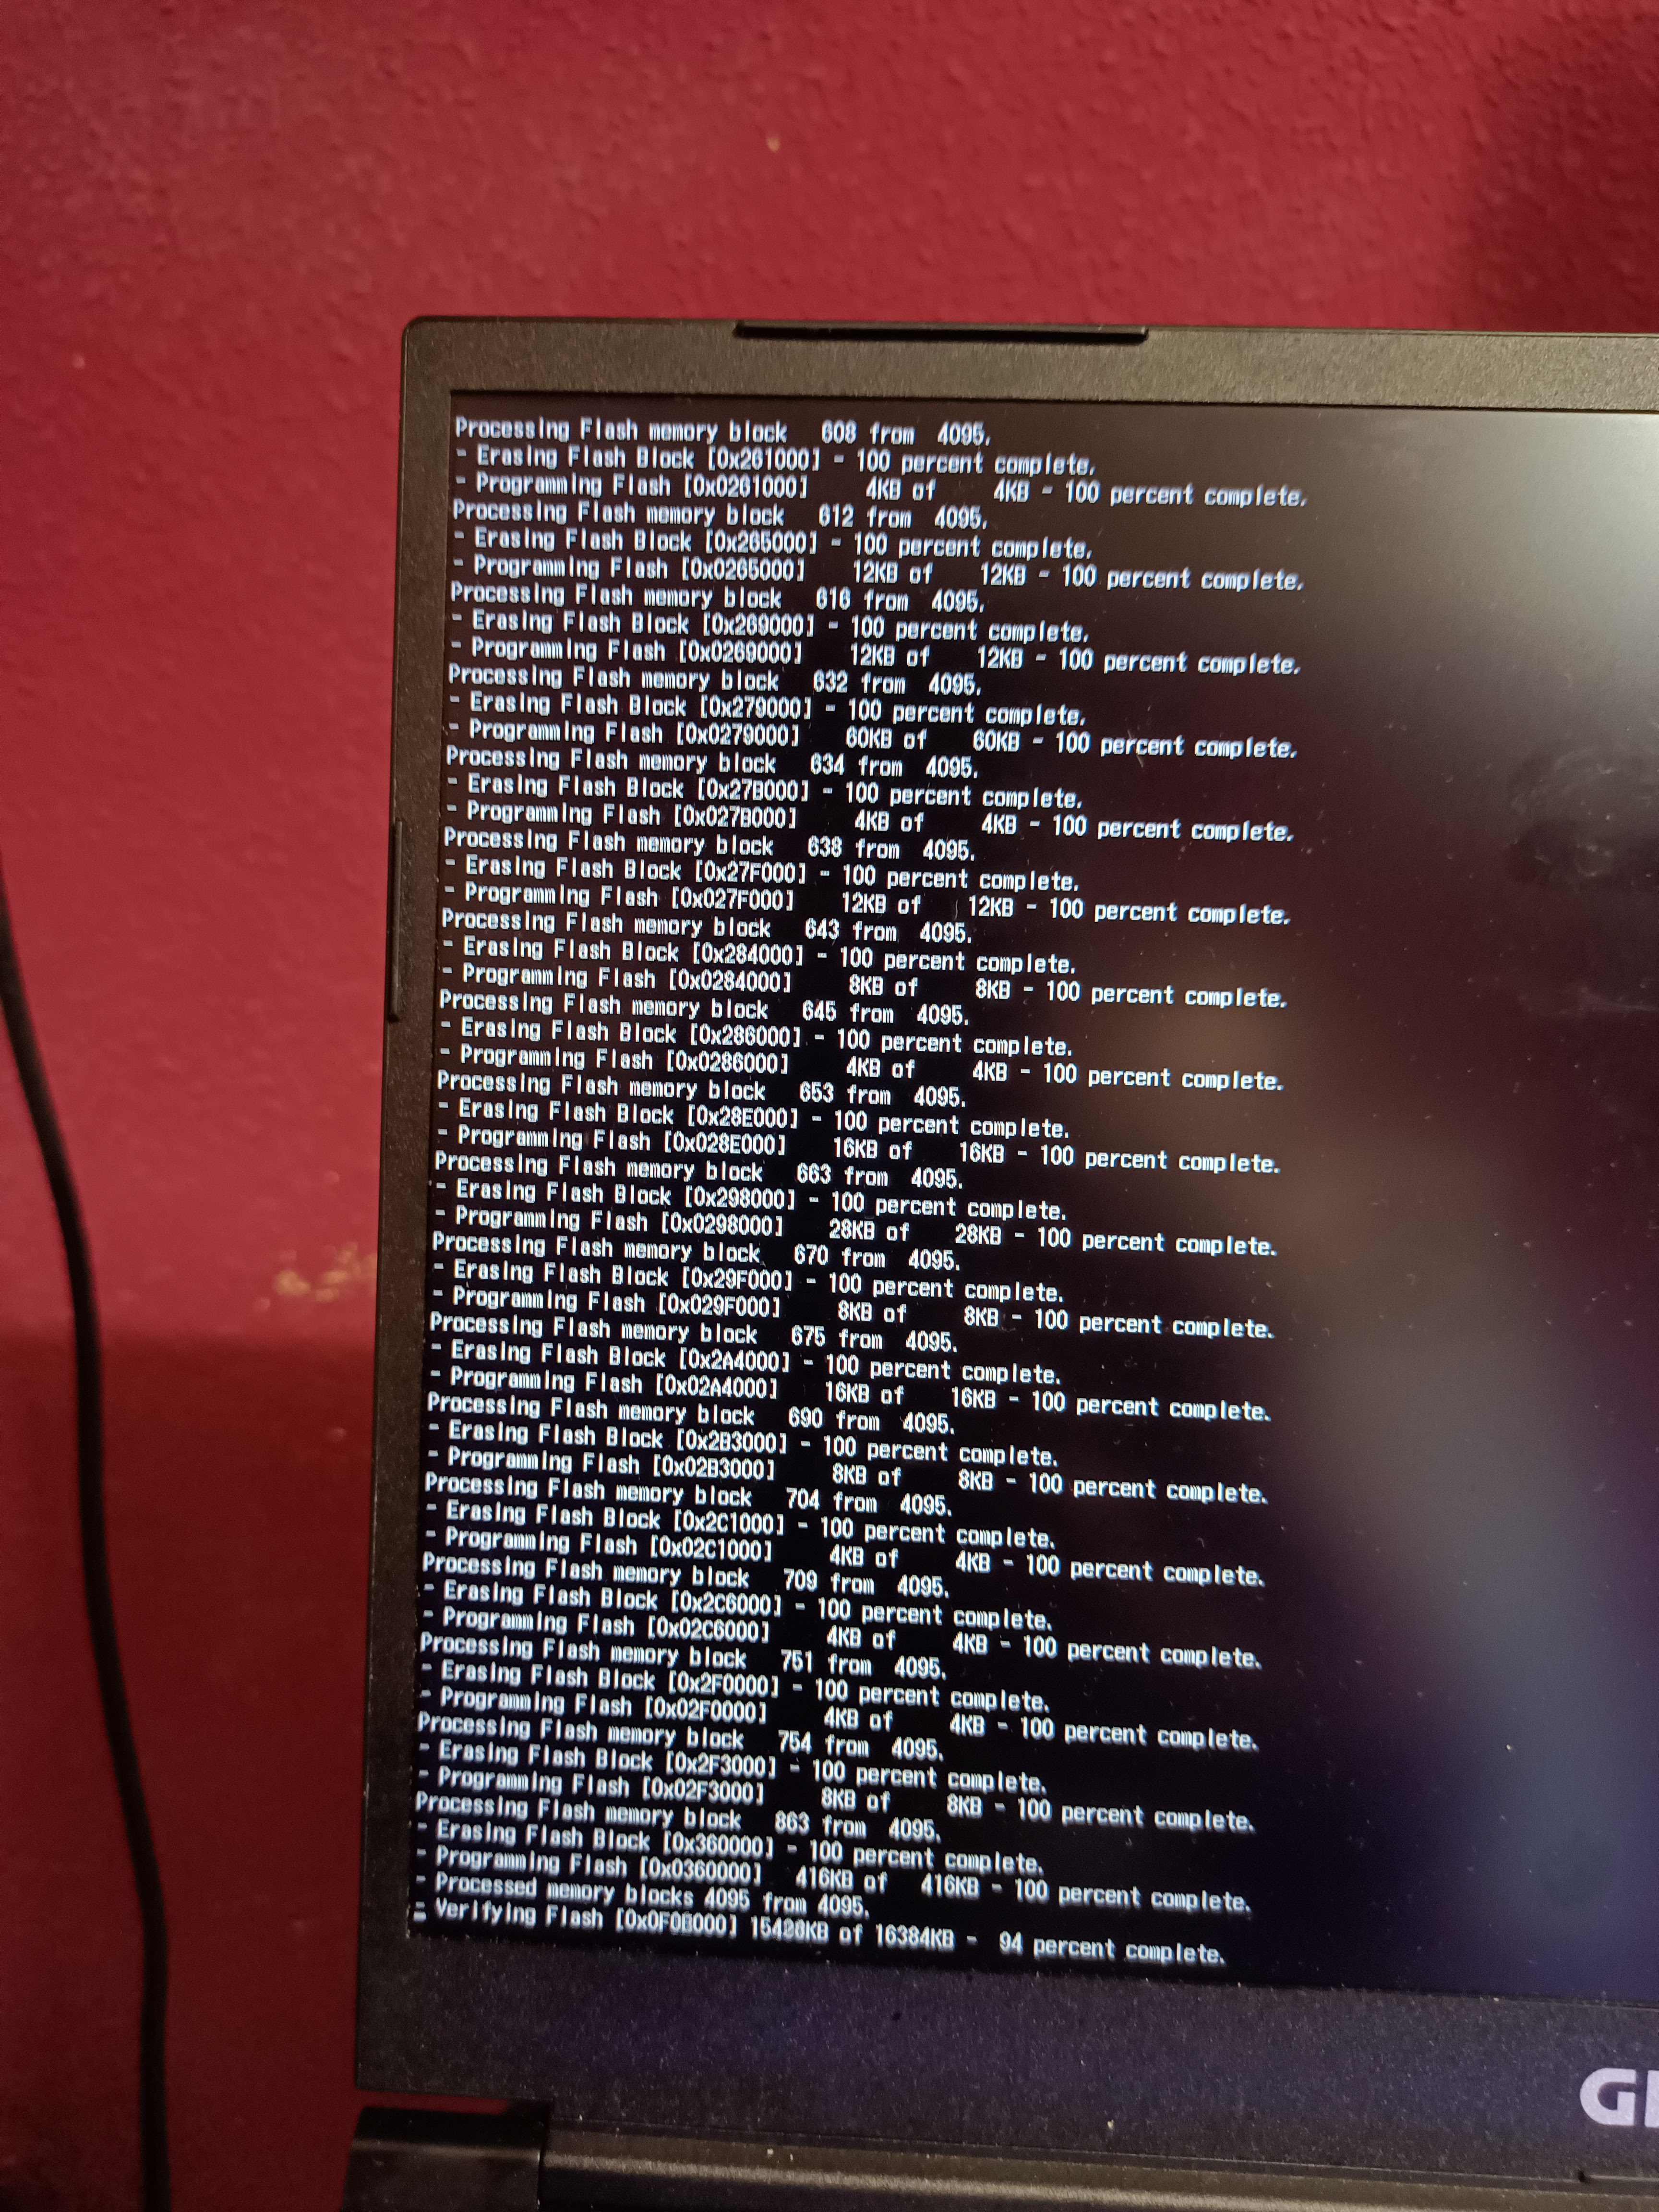
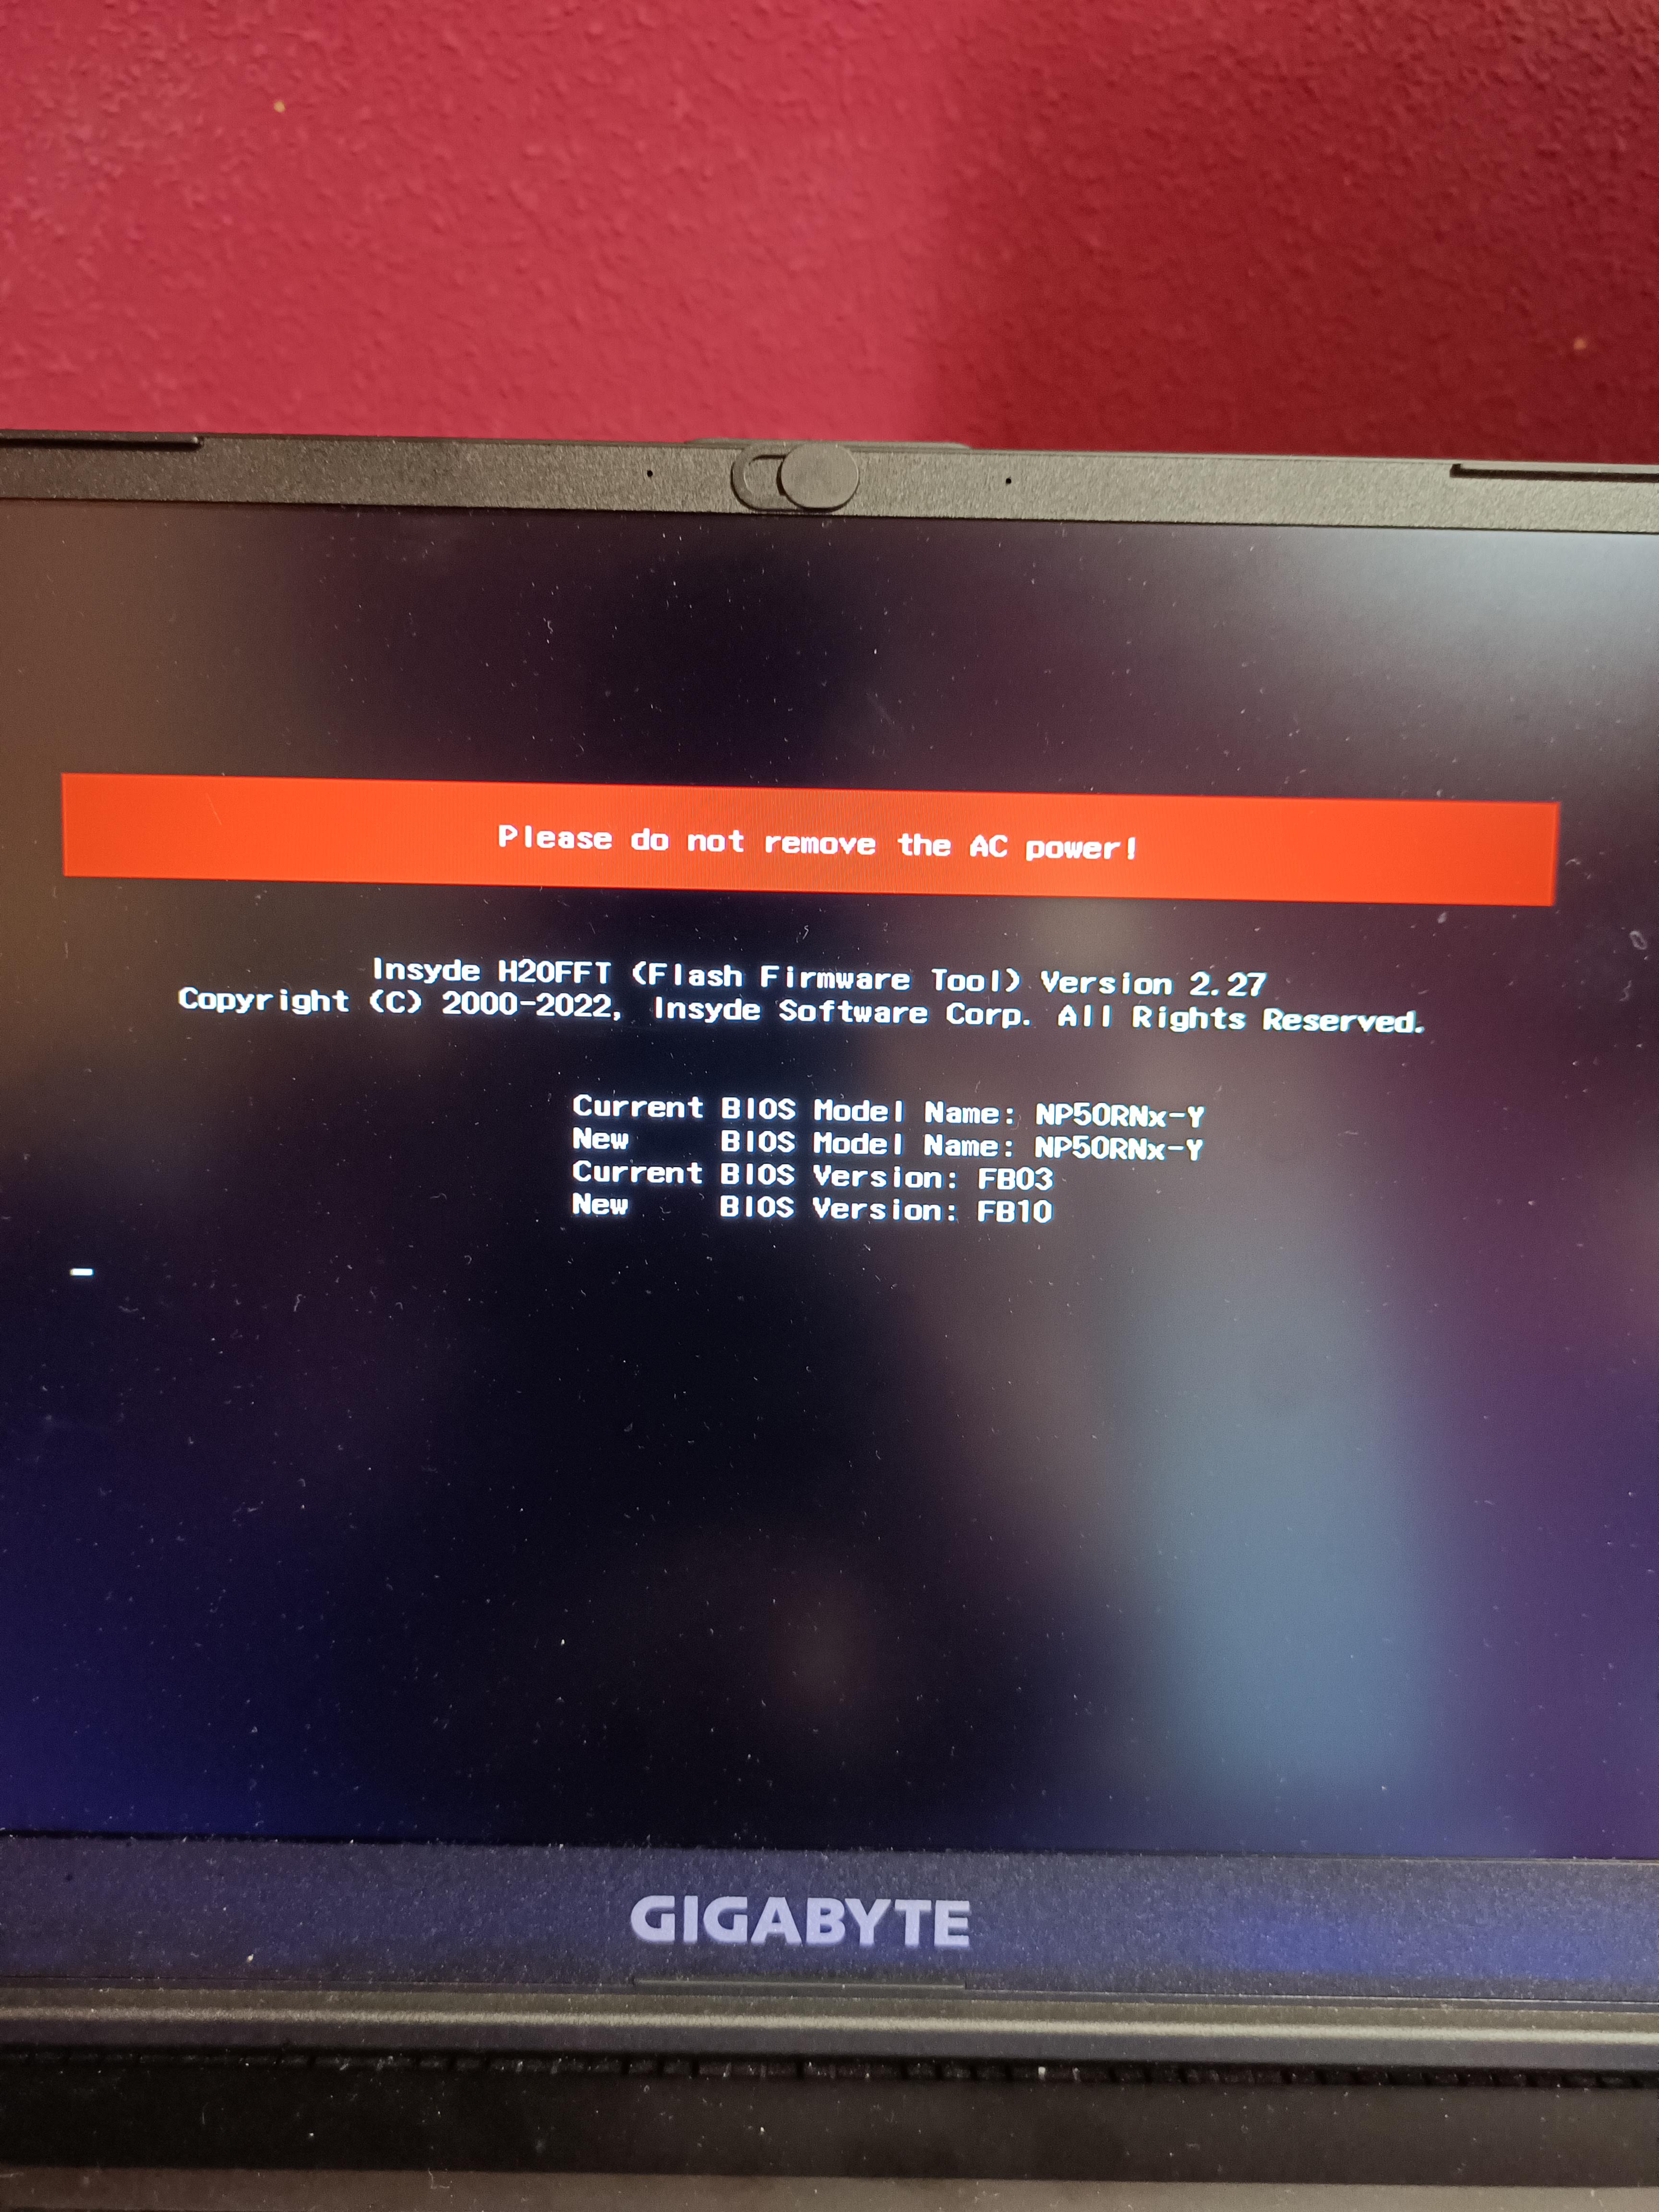
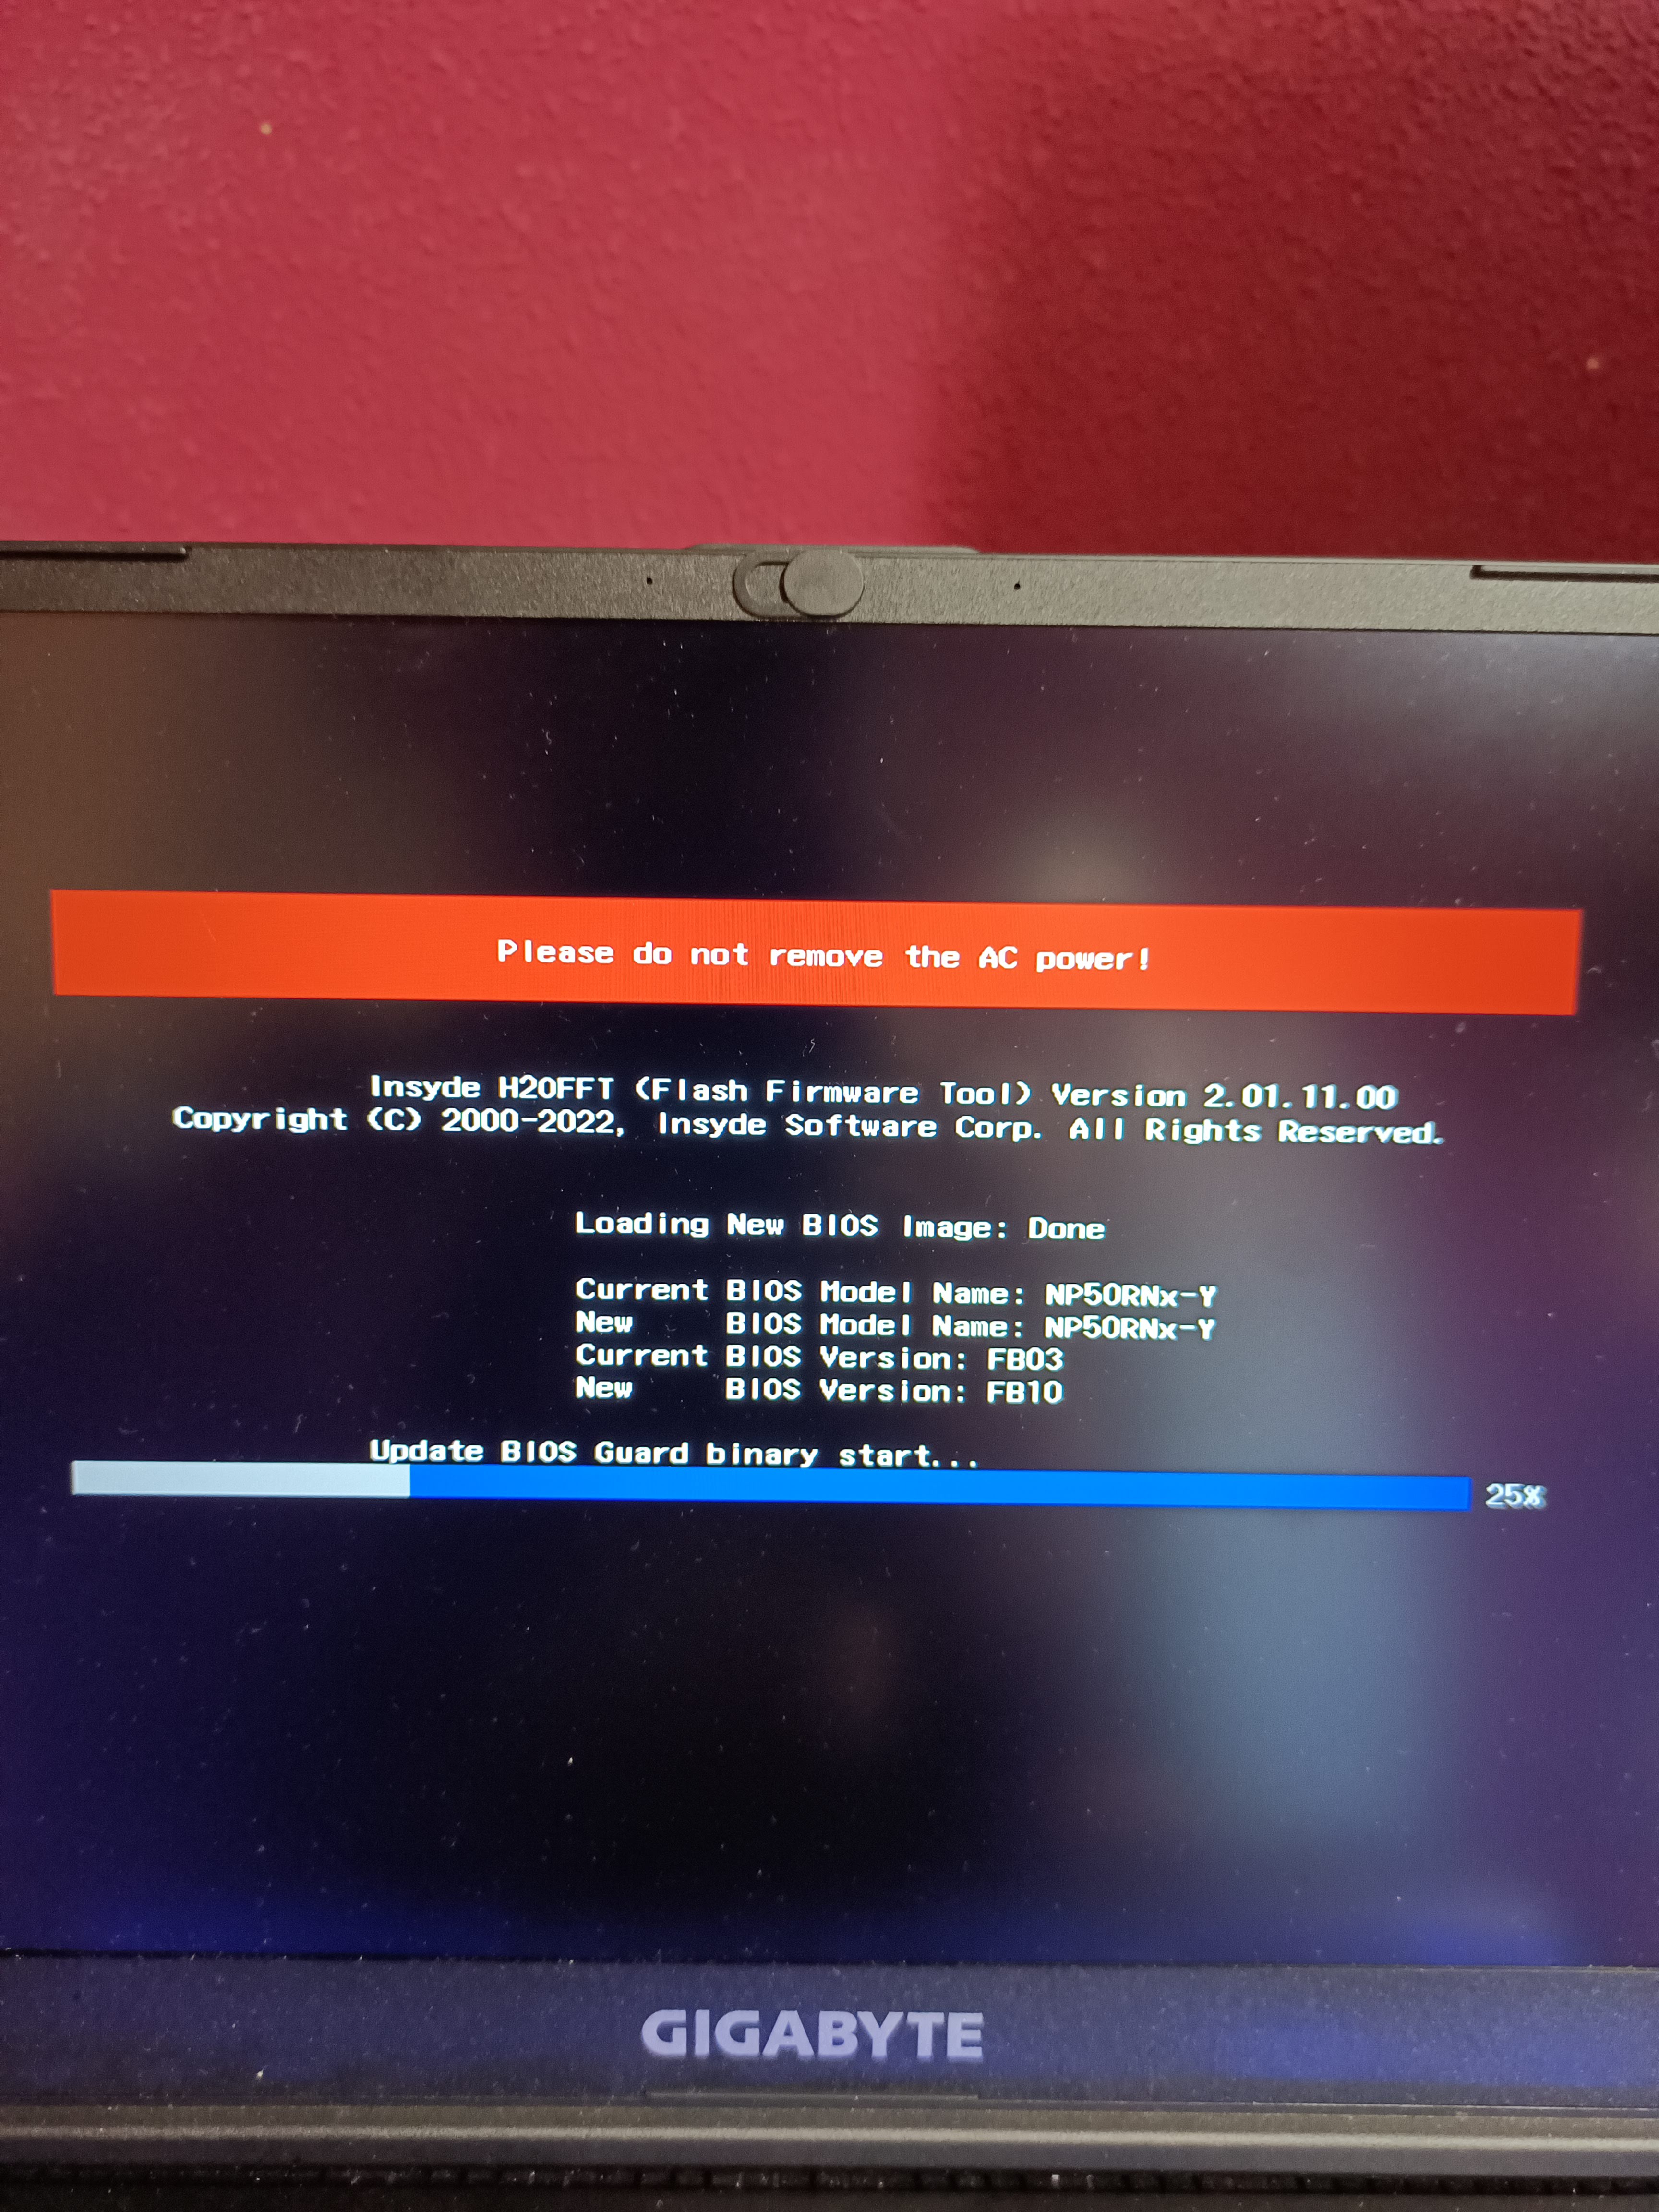
⚠️ AGAIN: Do not interrupt. When it says completed, it will power off automatically.
Step 5: Reboot and celebrate
- Remove the USB stick
- Turn on the laptop
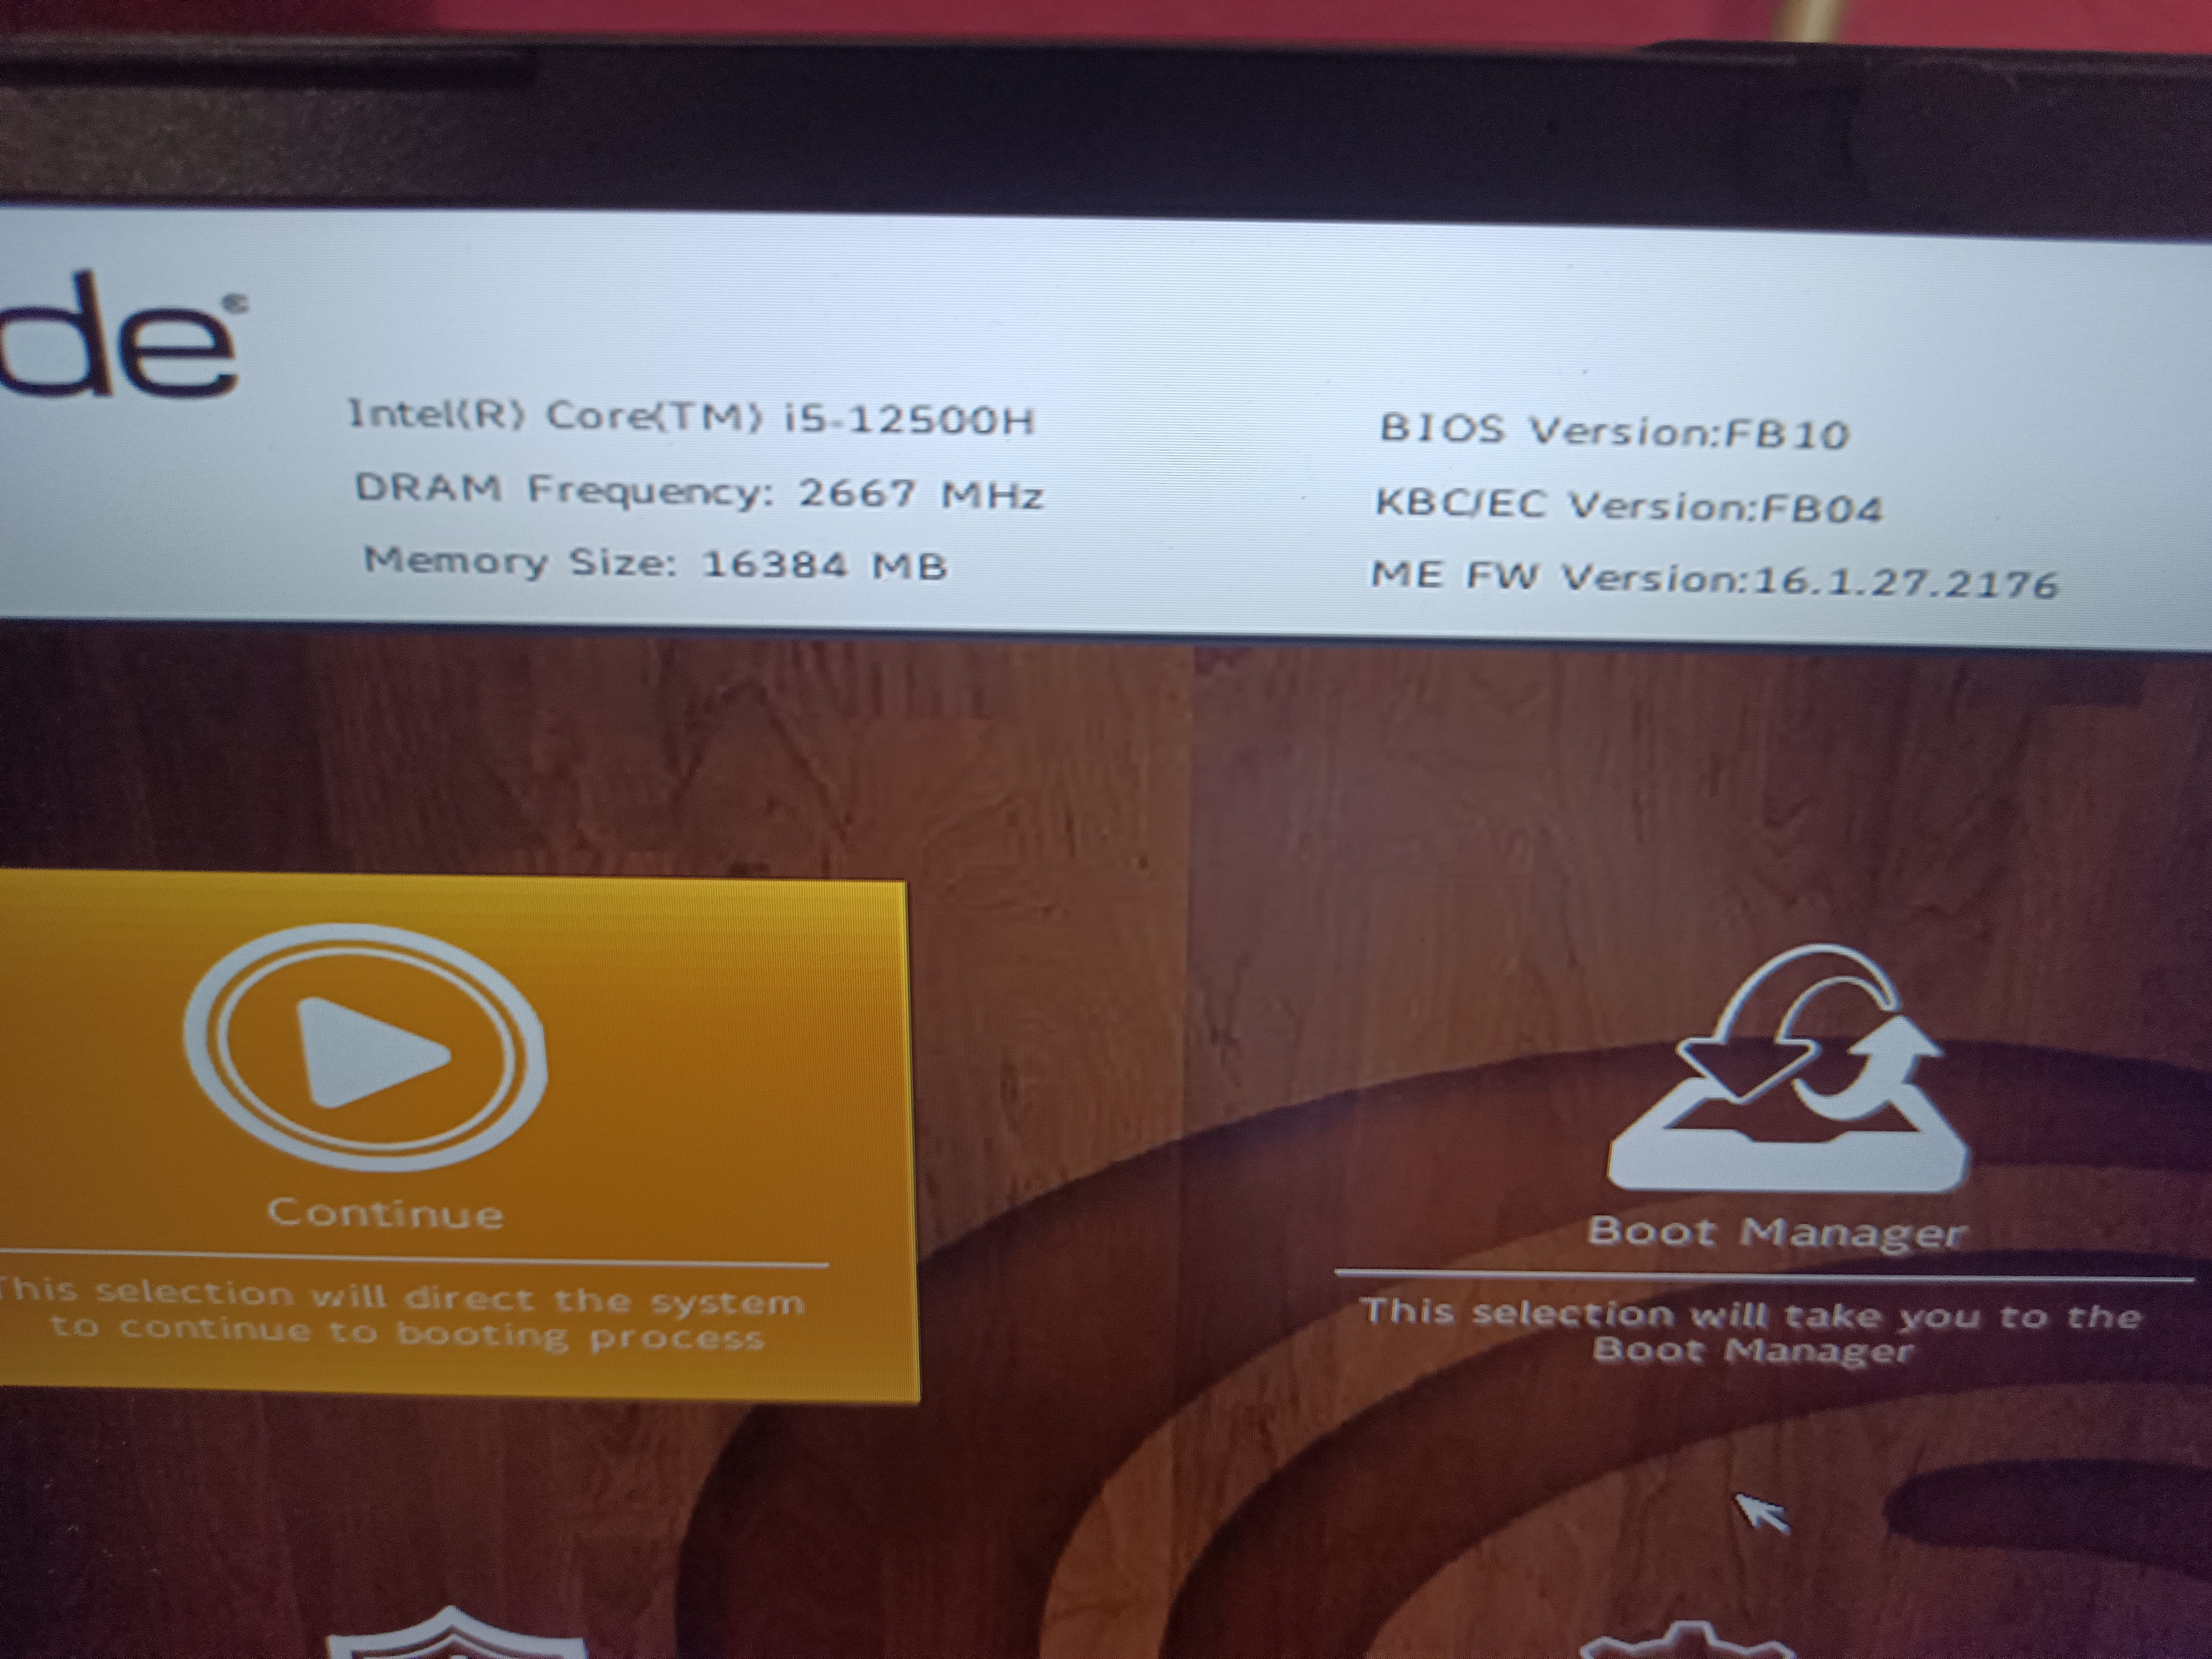
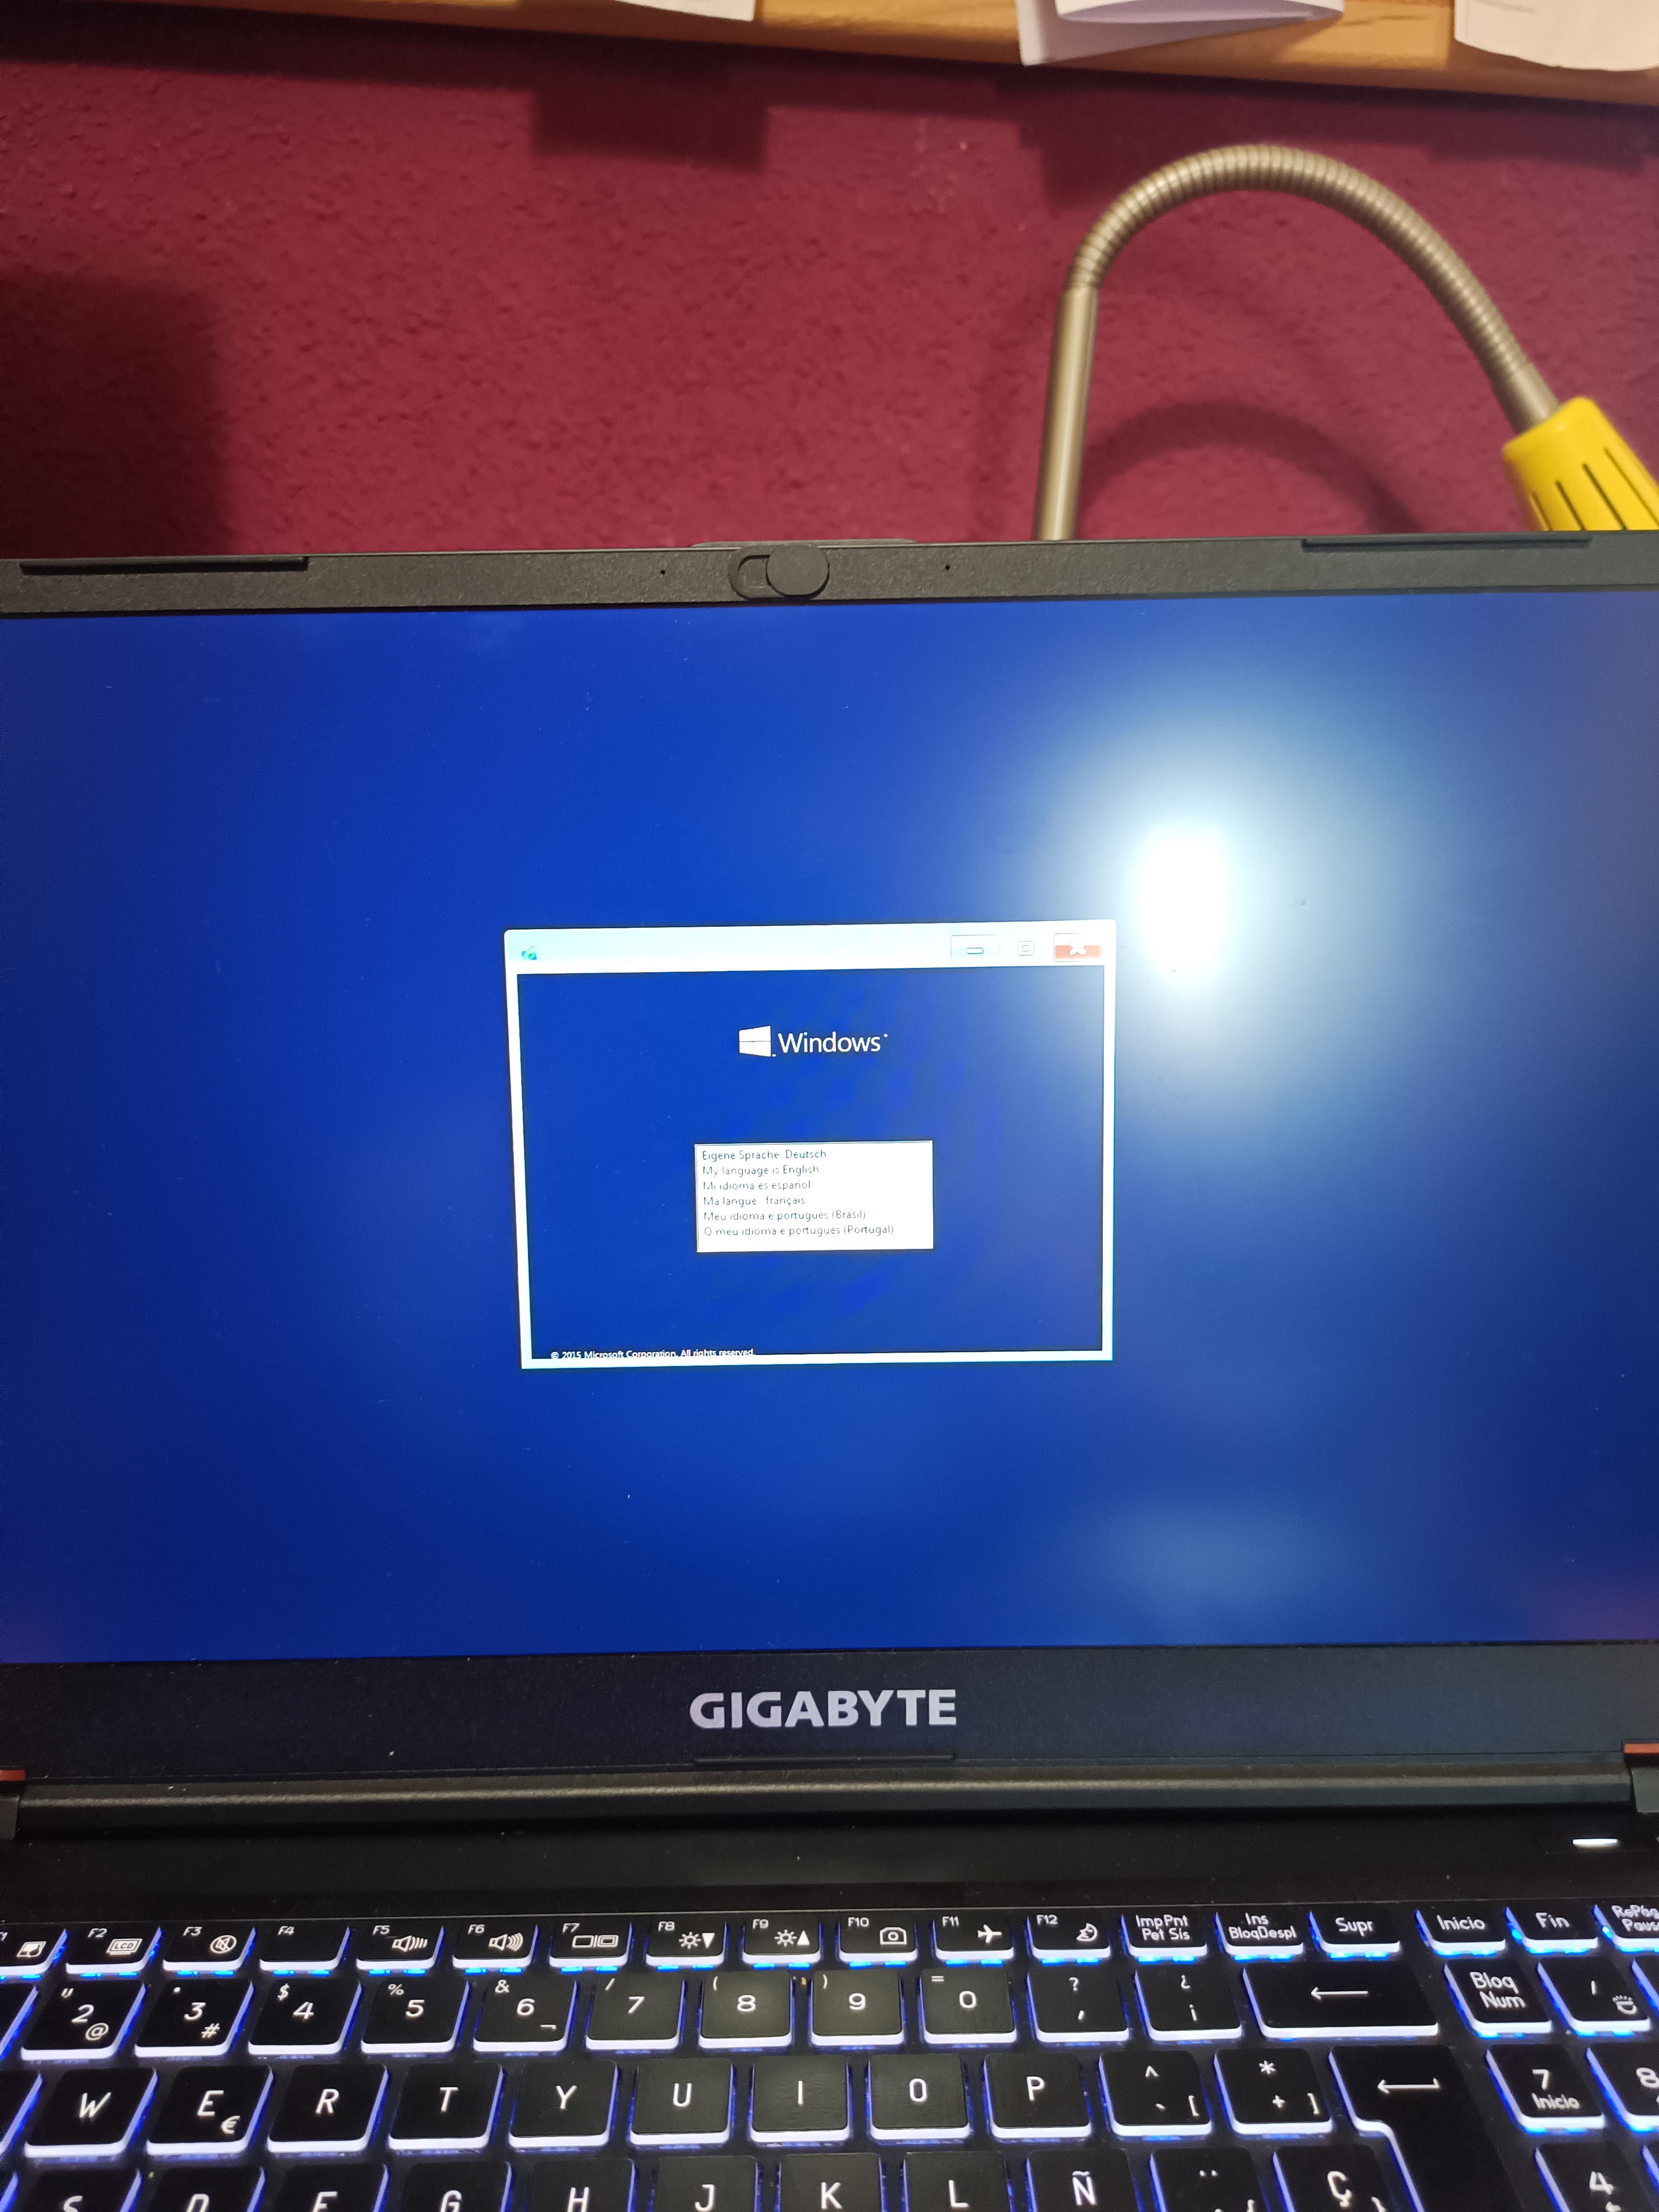
Now your BIOS is updated and repaired, you should be able to boot a windows installer or any other image using Ventoy or similar. I personally recommend not to install Windows 11 again, until the problem with updates is solved. Install windows 10 or a linux distribution.
As an example, i booted in a windows 10 installer successfully:
🧠 Final Notes
This is a soft-brick recovery — no hardware programmer needed
- No need to extract BIOS.fd or ME.fd; the .10 image contains all regions
- The FlashMe.nsh script automates the process safely
- If Secure Boot is enabled and EFI Shell doesn’t boot: disable Secure Boot (if possible)